Elevate your iPhone photography: Essential tips and techniques
Updated on February 5, 2025
February 5, 2025
7 mins read
Miguel G.
Sr. Tech Copywriter (US)
From lighting to editing techniques, learn how to capture the perfect photos with your iPhone.
Mastering the basics: Core photography principles
Taking the perfect iPhone picture isn’t much different than getting the best snapshot with any other camera. It’s all about applying photography fundamentals to capture that memorable moment.
Two key terms you need to know about photography are aperture and f-stop. Aperture is the amount of light let into the camera, and f-stop measures how much light is let into the camera. This is an essential principle for photography of all kinds. There’s also shutter speed — how long the camera shutter is open while taking a picture — to consider, but you’ll need a third-party app to control the shutter speed on an iPhone.
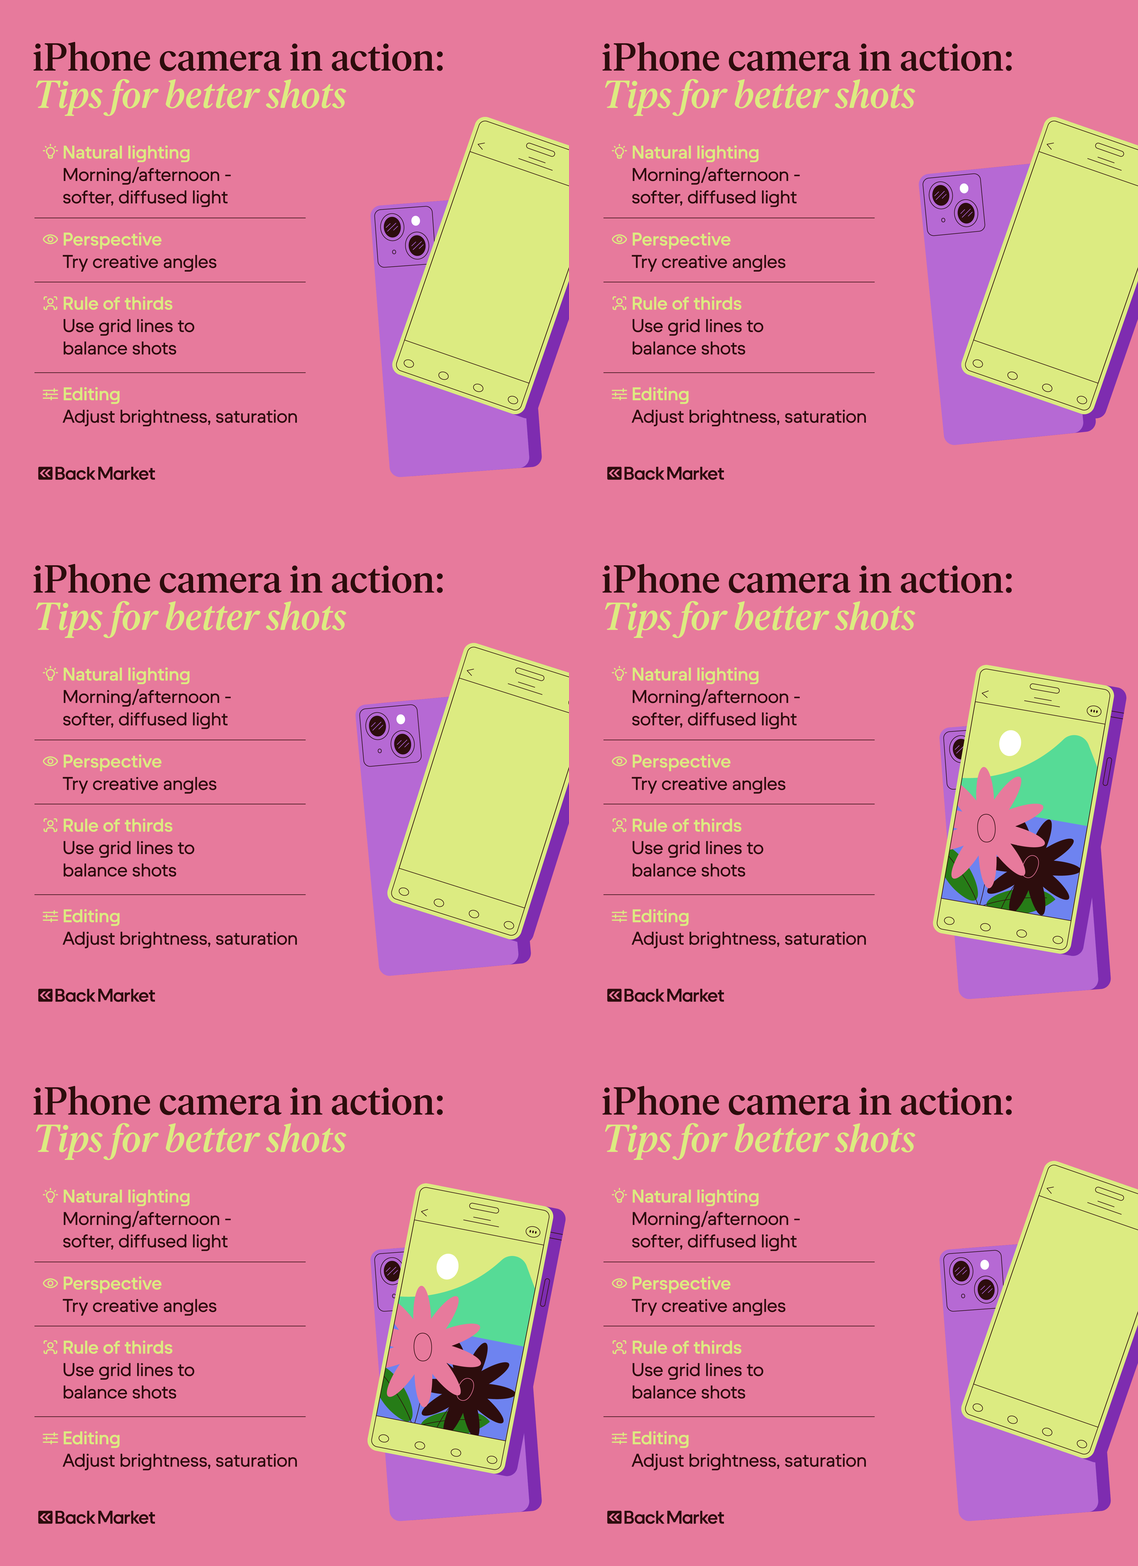
Consider how you stage and light your subject as you prepare to capture great images with your iPhone.
The rule of thirds: Position your subject off-center to create a more balanced and engaging photo. Use the grid and level lines you see when opening your camera to guide the viewer’s eye through the image, adding depth and dimension.
Negative space: Simple, uncluttered images can be more engaging and make your subject the intended focus — think more empty space, less Where’s Waldo.
Perspective: Explore unique angles to put your own creative spin on photography, as changing your viewpoint can dramatically impact the composition and feel of your photo. Try a birds-eye view of a crowd from a higher vantage point or point your camera from below.
Lighting: Pay attention to how natural light changes throughout the day to find optimal times for the best shots. Morning and late afternoon provide soft, diffused light, ideal for portraits and landscapes. This is the professional photographer’s secret to mind-blowing pictures — aside from the camera itself, of course.
Shadows: Contrary to popular belief, shadows can be your best friend when trying to capture dynamic photos. Experimenting with shadow photography and silhouettes is a great way to add drama and mood.
iPhone camera capabilities
Portrait mode for subject-centric shots
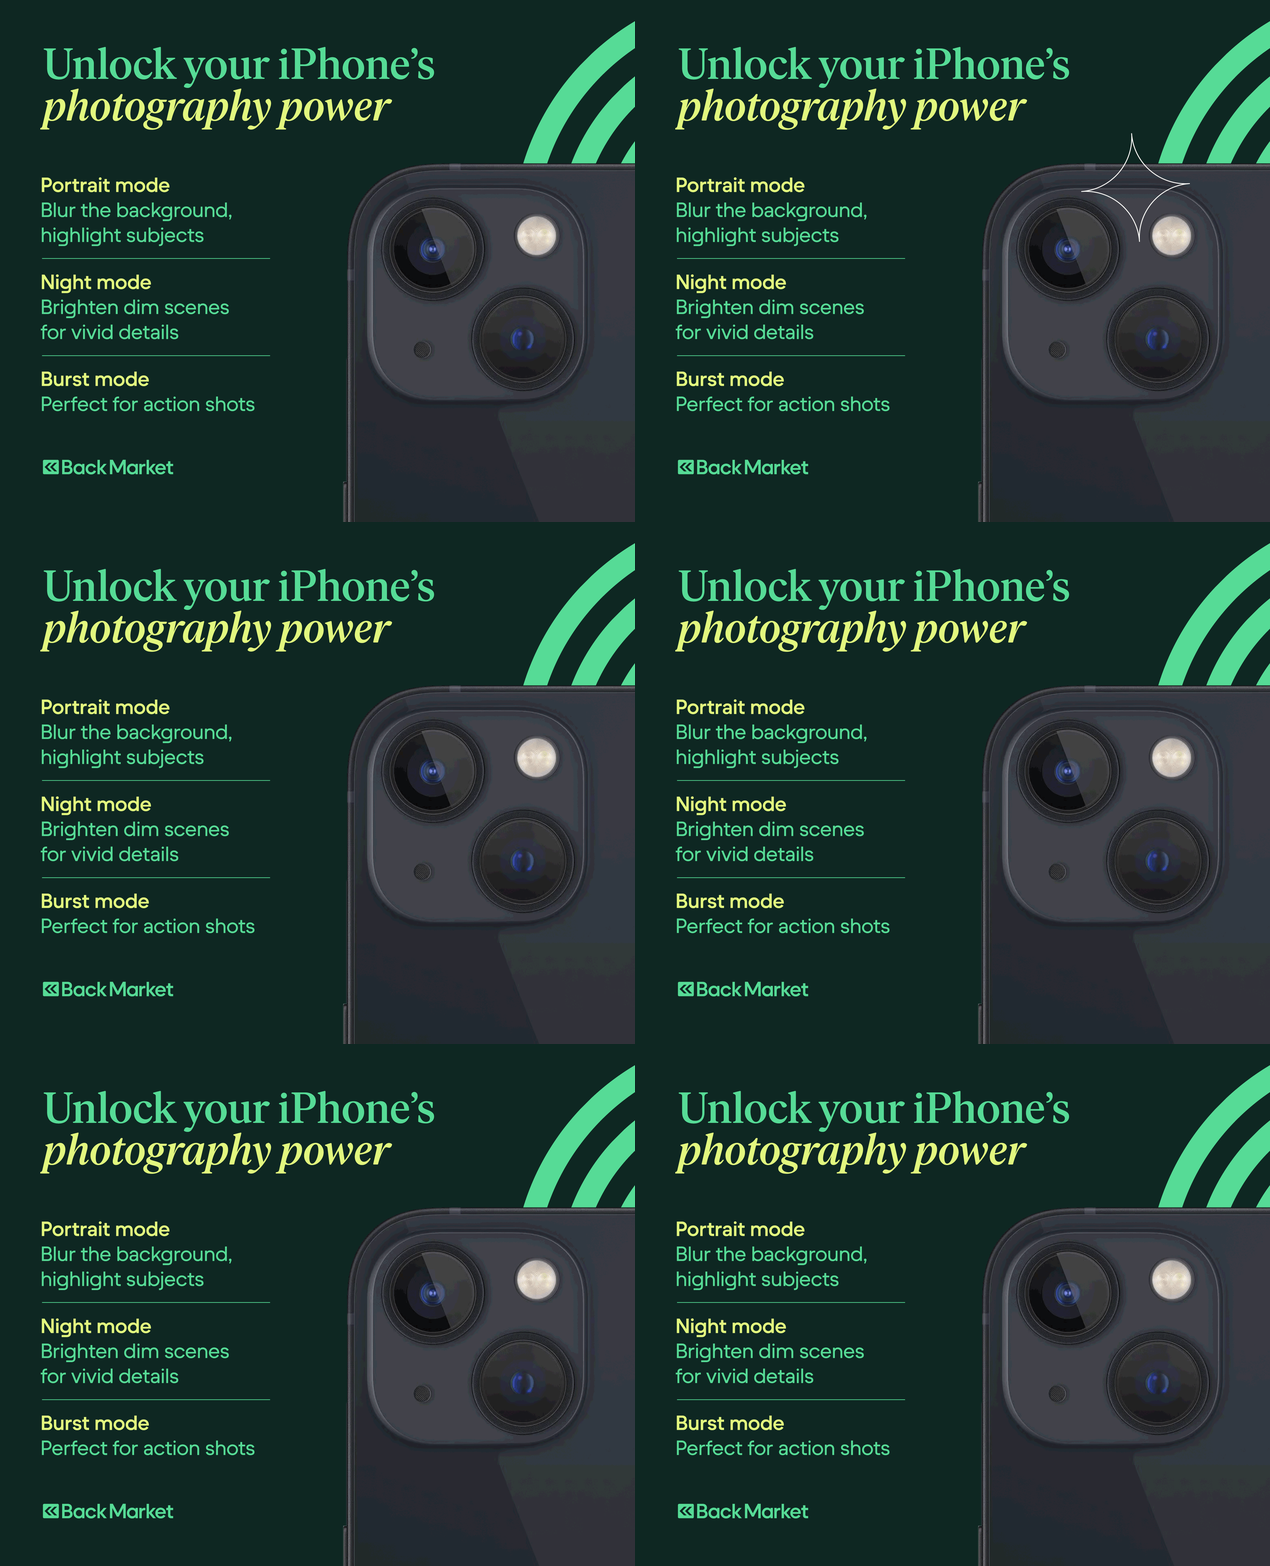
Portrait Mode is excellent for capturing professional-quality photos. Use the Natural Light setting to highlight your subject’s features without harsh shadows. After you snap your photo, experiment with Depth Control to achieve a beautiful bokeh effect that blurs the distracting background while keeping your subject sharp. Then play around with Portrait Mode’s five lighting effects — studio light, contour light, stage light, stage light mono, or high-key light mono — to suit any creative vision.
Making the most of night mode
Night Mode can transform a dim scene into a vivid image with rich details that you may not have noticed during the photoshoot. The setting automatically adjusts the exposure so you can capture impressive shots even in low lighting. If you’re unsatisfied with the auto exposure time, though, you can still adjust it manually for your desired level of brightness and detail.
Burst mode to capture the best moment
Burst Mode has been part of the iPhone camera since the iPhone 5S. Ideal for action shots, this setting captures 10 images in a row with one shutter press. Phones with iOS 14 or later will automatically suggest the best ones for you, or scroll through them yourself to pick favorites.
Record stellar videos with cinematic mode, slo-mo, and time-lapse
Creativity isn’t limited to still images, of course. iPhones offer a range of options that offer you new ways of capturing the world around you.
Cinematic mode captures videos that center automatic focus tracking and a shallow depth of field. Rolled out with the iPhone 13, Cinematic mode makes your main subject the star while keeping the background out of focus. It’s excellent for filming interviews.
Slo-mo captures the moment in fewer frames per second (FPS) than the average video, so you can record videos in slow motion without editing. The front camera record slow-mo in 120 FPS, while the rear camera can record slo-mo in 120 or 240 FPS. (For comparison, the average iPhone video is recorded in between 30 and 60 FPS.)
Time-lapse records a long event over time and plays it back at faster speeds. It compresses footage into much shorter videos, up to 30 seconds long. Try it while filming a sunset, walking through a crowd, or capturing a long parade.
7 Advanced iPhone photography techniques and tips
1. Go deep into your camera’s settings
By going to Settings > Camera, you can change many of your defaults to achieve the effects you’re looking for, including:
Recording: Adjust the FPS and definition of the videos you capture
Formats: Toggle ProRAW and Resolution Control on or off, along with camera controls for Apple ProRes for video
Sound: Record in stereo or mono
Lens: Toggle lens correction settings on or off
2. Try long exposure and motion blur
Create stunning long-exposure effects and motion blur with your iPhone. Use the iPhone’s Live Photos feature or third-party apps to capture motion, such as flowing water, moving traffic, or changes in facial expressions.
A tripod is essential to keep your camera steady during long exposures, ensuring sharp, professional results. By experimenting with different exposure times and settings, you can achieve stunning artistic effects, from soft, silky water to dynamic light trails.
3. Experiment with macro photography
Explore the world up close for fascinating and intricate images. Macro photography allows you to capture detailed close-up shots, like a ladybug on a flower. Use manual focus to ensure your subject is sharp — while it looks extremely small in person, it’ll be the main focus in your photograph.
The iPhone 13, 14, and 15 models offer a setting called Macro Control, which enables macro shots without additional apps or accessories. Head to your camera's settings to turn this feature on or off.
4. Try photography with hdr
Short for High Dynamic Range, HDR captures photos with an improved level of brightness than standard settings. This technology takes the same image at different exposures and combines them into a single, ideal image. Starting with iPhone 12, these devices take photos with HDR by default.
5. Explore different exposure settings
Smartphone cameras do most of the adjusting for you automatically, but as get more practice with photography, you may want to try playing with the settings yourself. In the Camera app, swipe up and tap the plus/minus button that appears to manually change the exposure, or how much light is let into the camera lens. Positive numbers let in more light, while negative numbers let in less light. Use these settings to directly see the impact of exposure on your iPhone photography.
6. Adjust depth of field
Starting with the iPhone XS, you can adjust the depth of field of your image. A wide aperture gives you a shallow depth of field, while a narrow aperture gives you a deep depth of field. Try experimenting with a shallow depth of field to hone in on whatever’s in the foreground of your photo. Opt for a wider depth of field when you want to capture every detail in the scene you’re photographing.
7. Edit your photos on your iphone
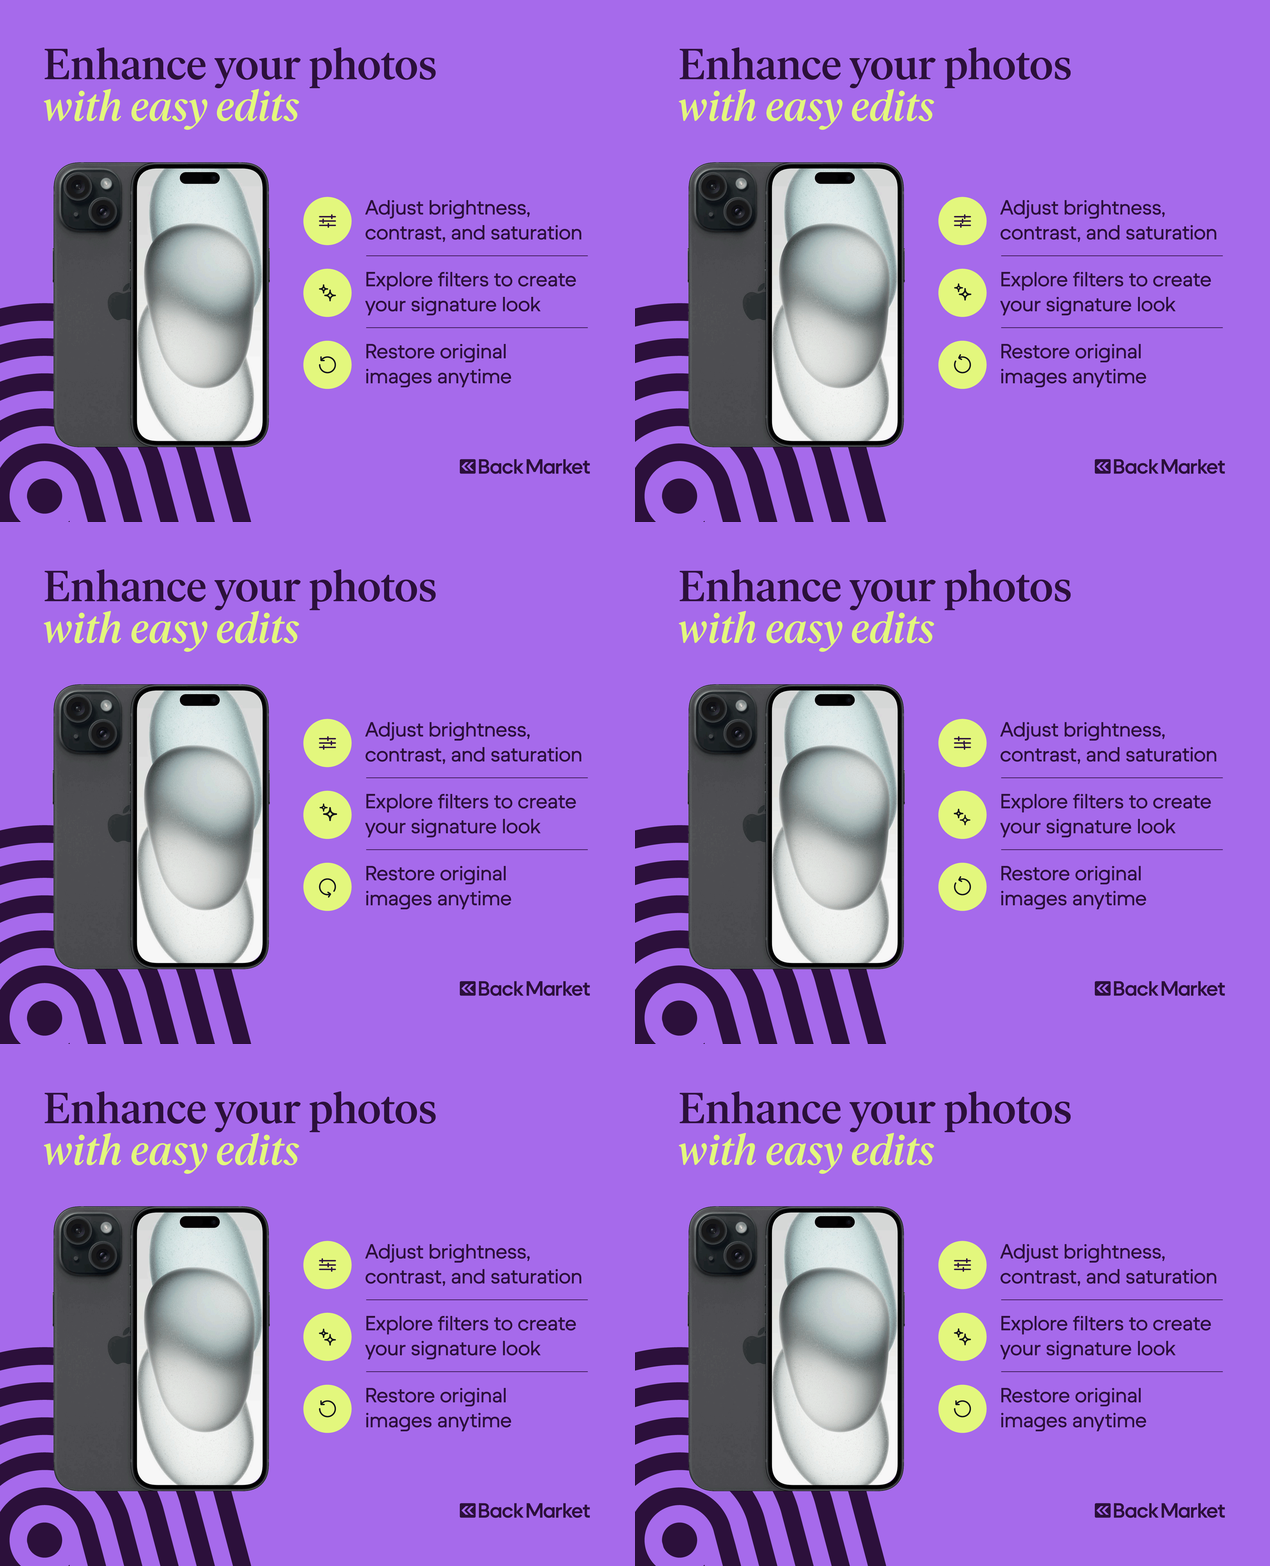
Have fun experimenting with different effects to find your style. If you don't like the changes you made, you can always restore the original image.
The Photos app lets you start with basic adjustments, like the AUTO feature for instant cleanup and manual adjustments for shadows, saturation, and definition. You can also explore filters to maintain a certain look — go natural, or try something entirely different to showcase your creativity to change your photo’s coloring. You can also utilize exposure, saturation, highlights warmth, or tint features to fine-tune your edits.
How to organize and share your iPhone photography
Organizing your photo library is essential for easily finding and sharing your favorite creations. Make and share albums for different themes or events, making it easy to find specific photos. You can keep your photos within a small circle of family and friends with private albums on iCloud, or use iMessage to send your images.
Share your best shots on social media to showcase your work to a broader audience. Connect with other iPhone photography lovers online through Facebook groups like the 310,000-person-strong iPhone Photography and Reddit communities like the 123,000-person-strong iPhoneography. Share your photos with fellow photographers, or find communities that may appreciate your work. For example, if you love taking pictures of flowers, share your pictures in Facebook groups and subreddits of flora-philes who appreciate rose gardens and tulip fields as much as you do.
Unleash your creativity: Elevate the photography journey
Photography is a continuous learning journey. Practice regularly, experiment with new techniques, and don't be afraid to make mistakes. The more you shoot, the better you'll become.
Embrace the process and new techniques to enjoy the creative exploration that comes with iPhone photography. And to get the most out of your iPhone photography, check out Back Market’s guide to the best iPhone cameras to find the model that best matches your photography goals.

Written by Miguel G., Sr. Tech Copywriter (US)
Miguel is always looking for new ways to provide unique perspective on popular tech and has taken his writing to the refurbished industry to promote sustainability. Outside of creating content, you might find him travelling the globe, coaching a fitness class, or cheering on his favorite sports teams (Go Dolphins!)


